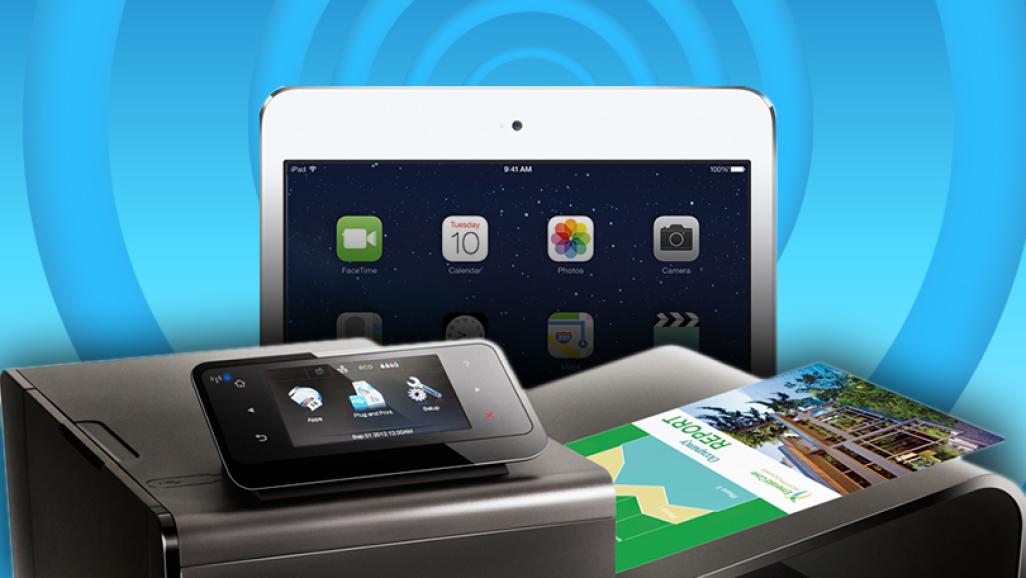
How to Print From Your iPad
With AirPrint, you can print documents from Apple programs such as Photos, Safari, Mail, and iPhoto, as well as many third-party apps. When you open a document in an AirPrint-compatible program, you can access the Share button through an icon (usually a forward arrow) at the top or bottom of the screen. It should reveal a print option (as well as social media sharing options). Press Print, and the Printer Options screen should appear. Press Select Printer, and the app will search for AirPrint-compatible printers on your Wi-Fi network. Once you choose a printer, you’re ready to go.

Print servers tend to add some extras to AirPrint’s functionality. Presto is also compatible with Google Cloud Print, and it allows iOS devices to discover printers via unicast Domain Name Servers (DNS), instead of the (allegedly less reliable) multicast DNS that AirPrint itself uses in discovering printers. Printopia, meanwhile, lets you “print” a copy of the file you’re printing to your Mac, to Dropbox, to Evernote, or to one of several similar cloud-based services.

These apps generally let you print a variety of document types, and in many cases they have their own browser (with limited features) for loading and printing web pages. Some of these apps are rather bare-bones, while others, such as Samsung Mobile Print and Epson iPrint, let you initiate scans from your iPad, and offer a variety of printing functions. Many of these apps integrate with various cloud services to allow printing from them, as well.
Third-party app makers have also gotten in on the fun. Thinxtream Technologies, for instance, offers the PrintJinni app, which lets you print from an iPad to compatible printers from a number of manufacturers.

One advantage of cloud printing is that you can print to the cloud printer from anywhere (as long as you’re connected to the Internet). Another is that you can print to it from multiple platforms: desktops, laptops, and mobile devices running other operating systems. A drawback is that support for printing tends to be from a limited selection of apps, which are usually major productivity apps, but often not the iPad’s email client or Safari.
Google Cloud Print, for one, is predictably centered on the Google ecosystem; with an iOS device, you can print from Chrome, Gmail, Google Docs, and other Google apps, but little else. PrintCentral Pro is one of the few iOS apps that lets you print a variety of document types to Google Cloud Print.
AirPrint offers quick, easy Wi-Fi printing, but not all printers are compatible with it. Printing apps generally offer more features than the other methods, but they are supported only by specific branded printers. Email printing is a great method, but only select printers support it. Cloud printing services are best suited to offices, or to people who use the productivity apps they tend to support.
In most cases, if need be, you can combine several of these methods to increase your ability to print to multiple printers, and to print different document types. There’s no one-size-fits-all iPad printing method. But among these different methods, you should be able to find an effective subset that works for you. (Apple computer users can also check out our roundup of the best printers for Macs.)